The autumn portion of the Niagara Escarpment System is divided from the rest of the layout by a small backdrop. As I intended to plant a shallow deciduous forest, I needed to ensure that the backdrop would add some depth to the scene, as the trees would likely be somewhat see-through, and would lack the density I wanted.
As this is a test-bed layout, I didn’t feel it was necessary to paint a highly realistic scene, or use a photograph to create depth, as all I needed to do was keep the viewer’s attention in the foreground; the best way to do this being to under-emphasize the background.
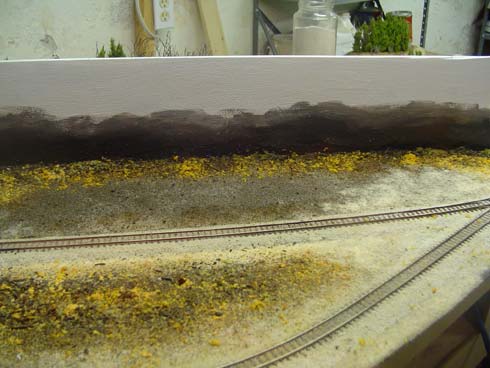
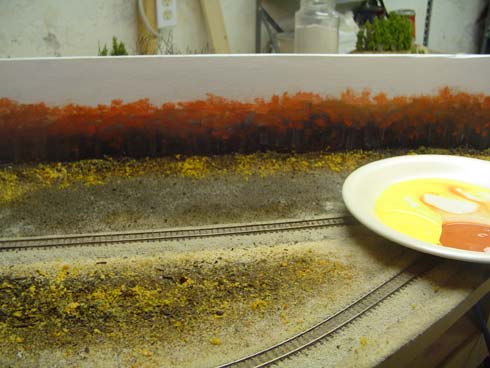
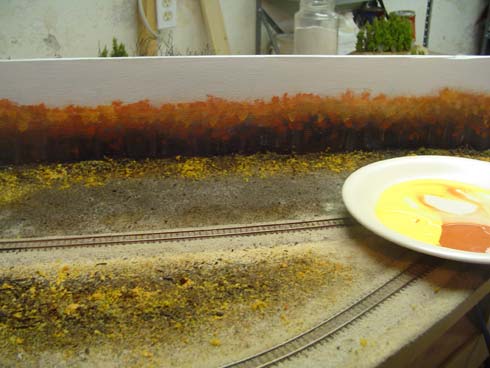
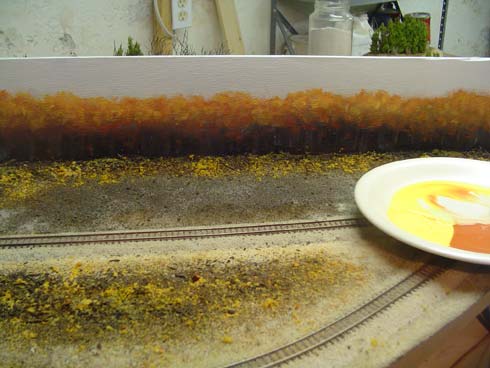
With a gray-blue sky already established, I first took some burnt umber and black and roughed in the tree line. While the paint was still wet, I immediately blended in some of the original sky colours to create a transitional area between the sky and the ground. Next, I added some vertical slashes again using the sky colour to suggest tree trunks, adding highlights randomly to the right side of the trunk. Once the dark coat of paint was somewhat dry, I dabbed on some deep orange paint that closely matched my ground foam, and established a rough, although fairly uniform tree line. I immediately added some lighter dabs of orange paint to suggest highlights and finished with some very light yellow-orange paint to suggest the highlights on the treetops. While this paint was still wet, I took a dry, 2″ brush and lightly stippled the entire area, blending the colours together, adding the odd dab of orange to help blend the colours together until I had a fairly uniform, and unspectacular, backdrop.
Although the backdrop is rather flat, it will allow the foreground trees to blend seamlessly with the background, and help give the scene some much-needed depth. As well, the entire exercise had the added benefit of only having taken 10 minutes.