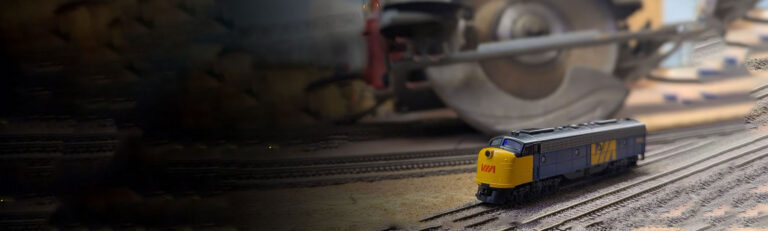
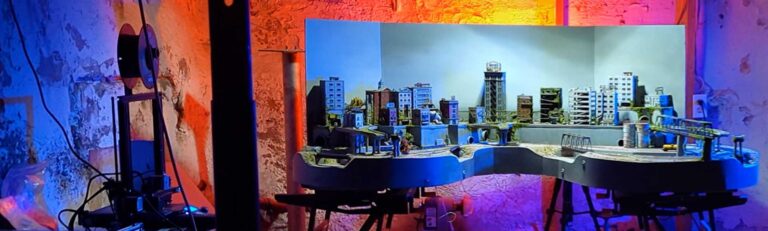
From Perfection to Done: What Theatrical Backdrops Taught Me About Modeling Read More » July 27, 2025
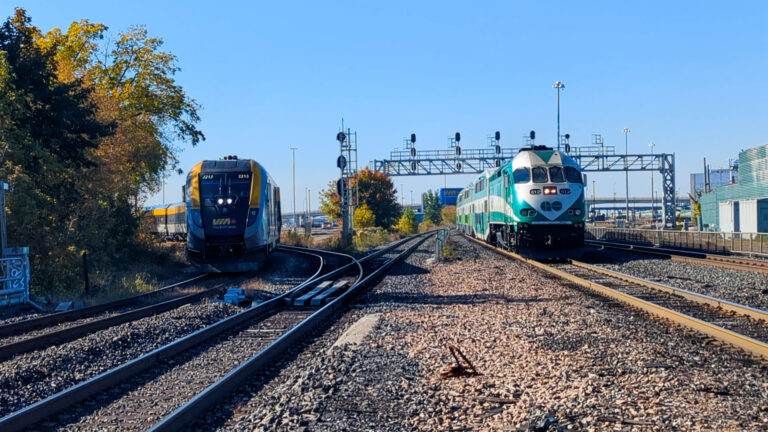
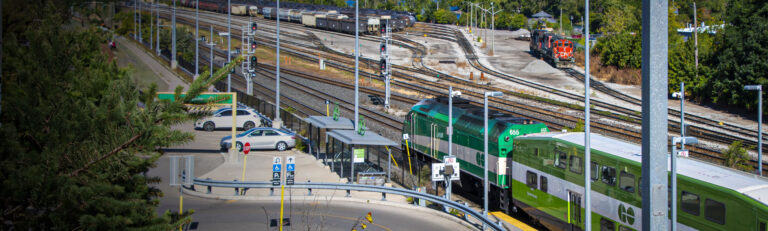
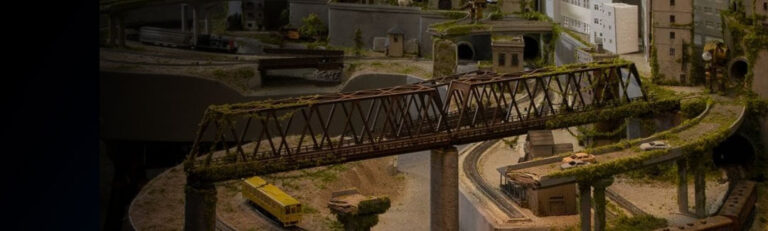
Exploring 5 Must-See Model Railroad Layouts from the Hamilton & District Tour Read More » October 7, 2024
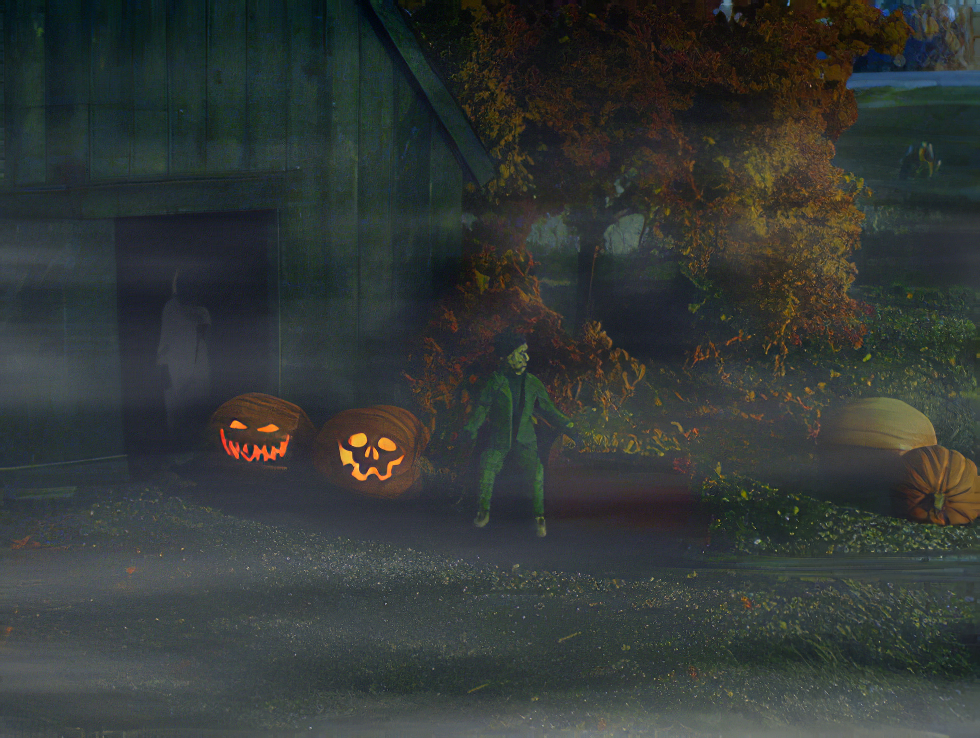
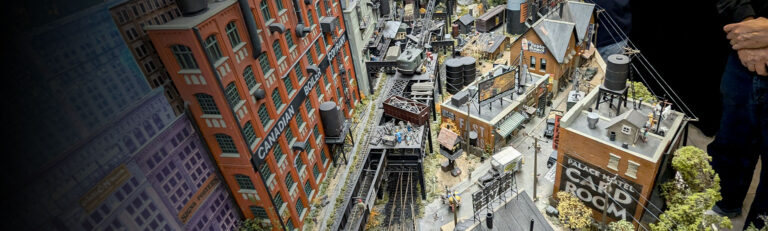
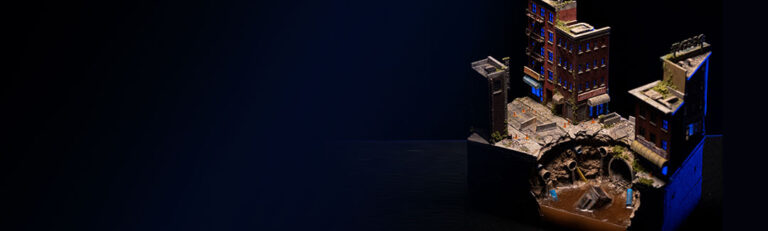
Sinkhole City – Creating an Apocalyptic City Block with 3D Printed Building Facades Read More » February 8, 2022
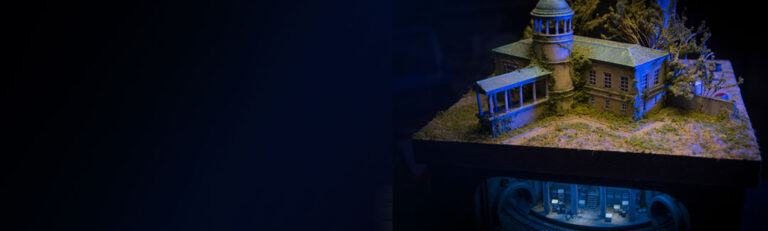
Scratch building the Church of Transfiguration in N Scale – Johnny Mnemonic Read More » December 3, 2021