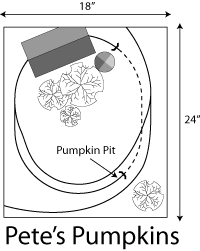
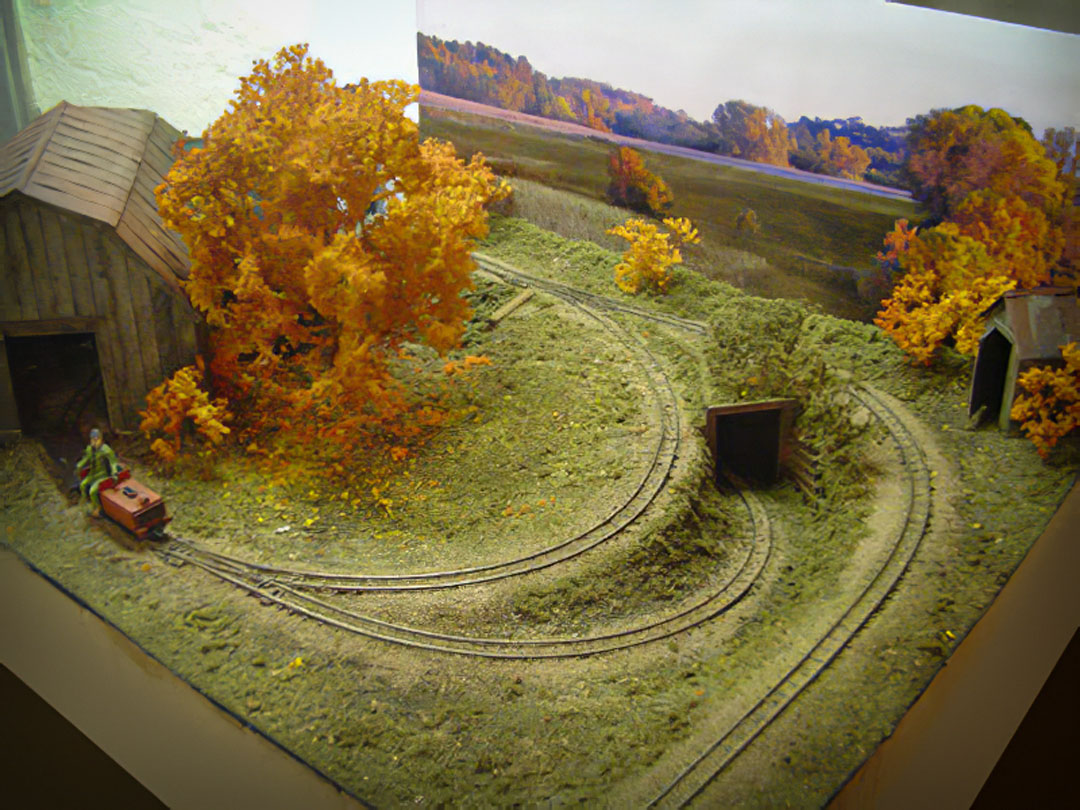
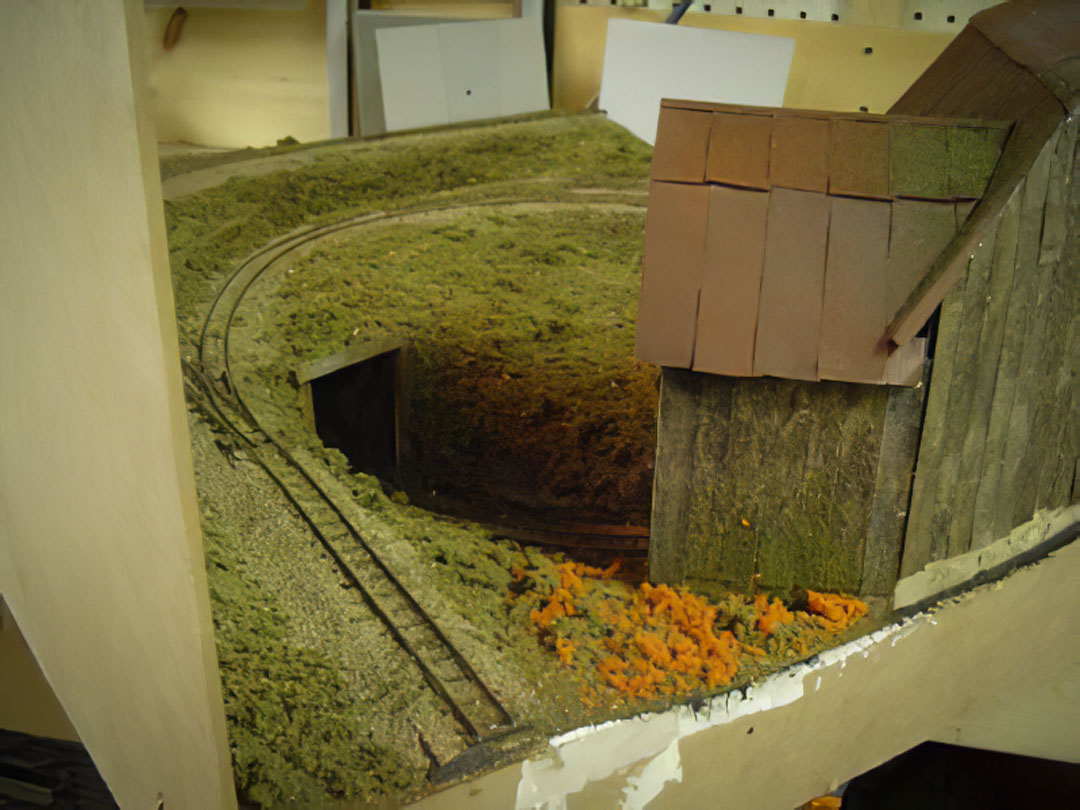
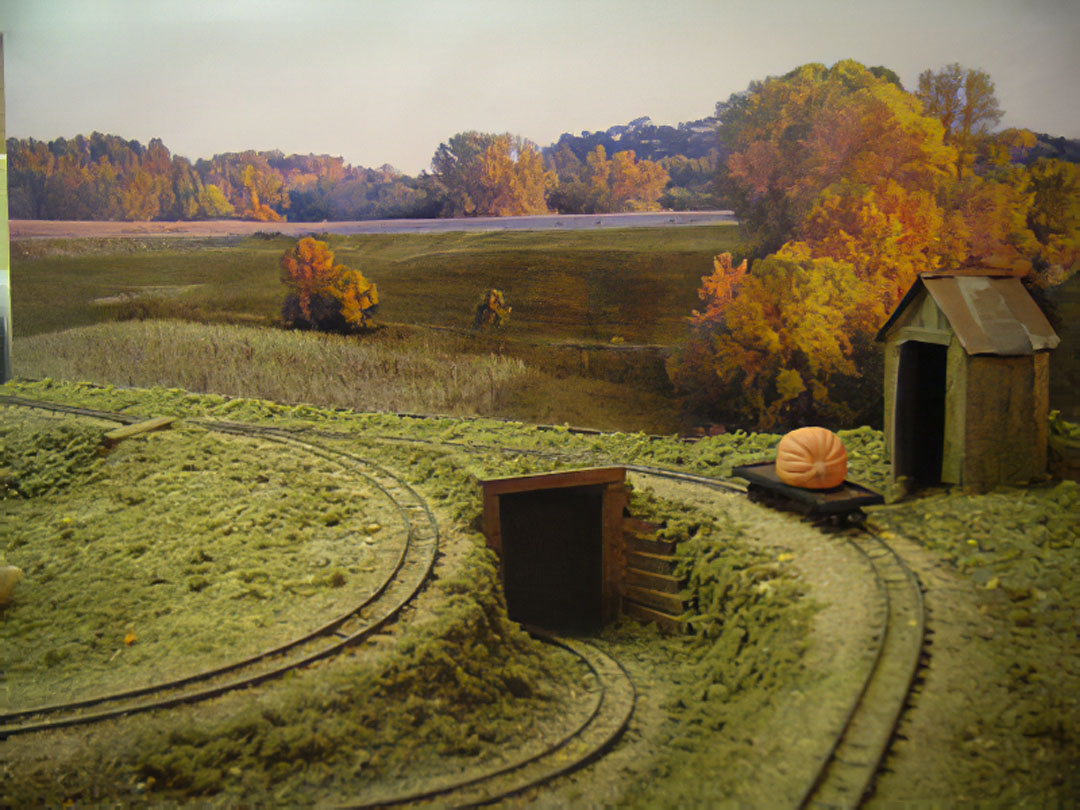
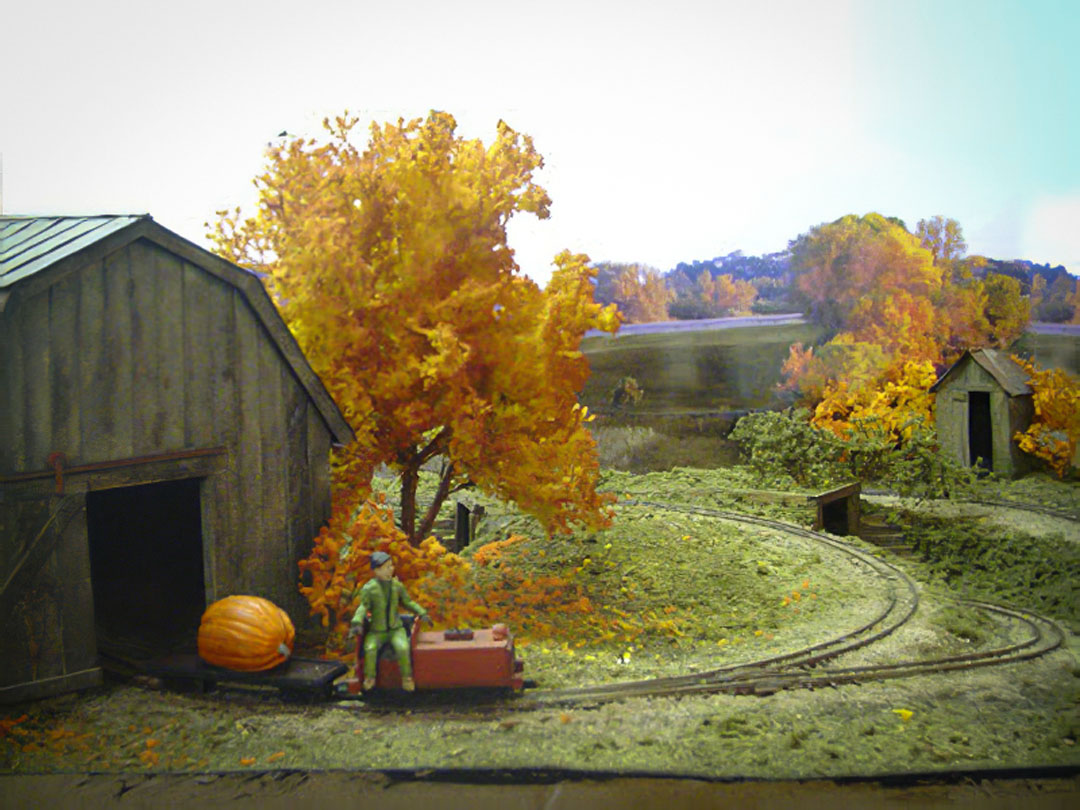
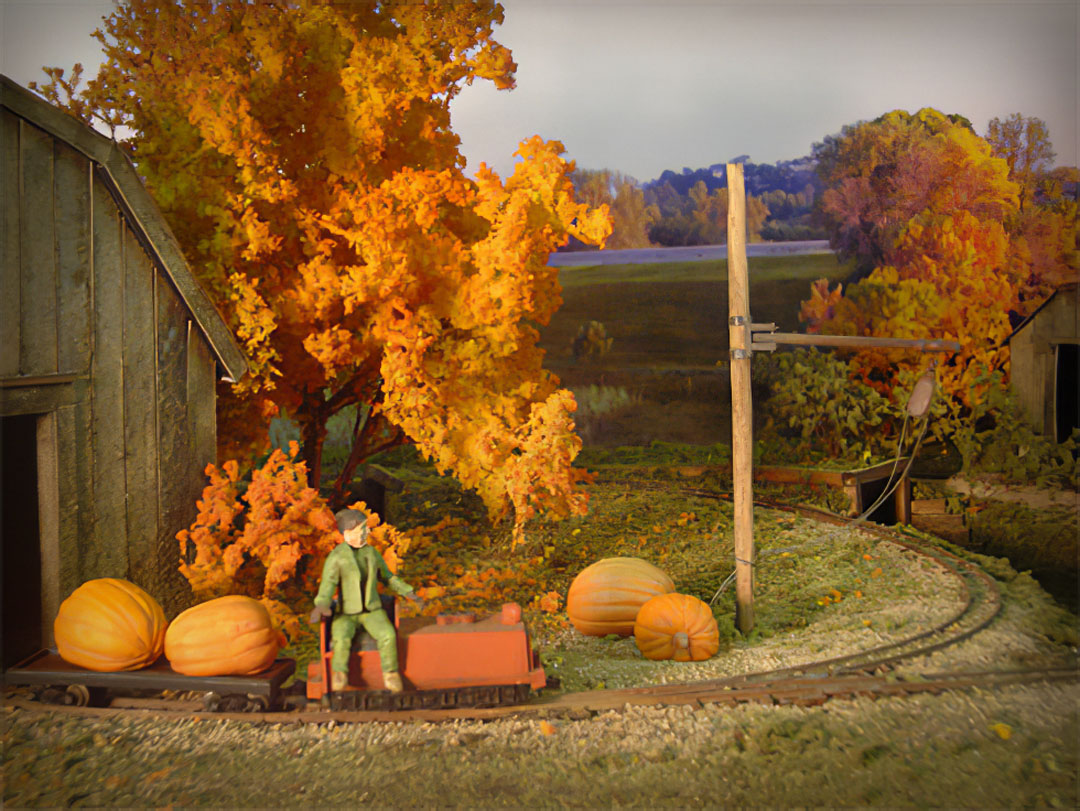
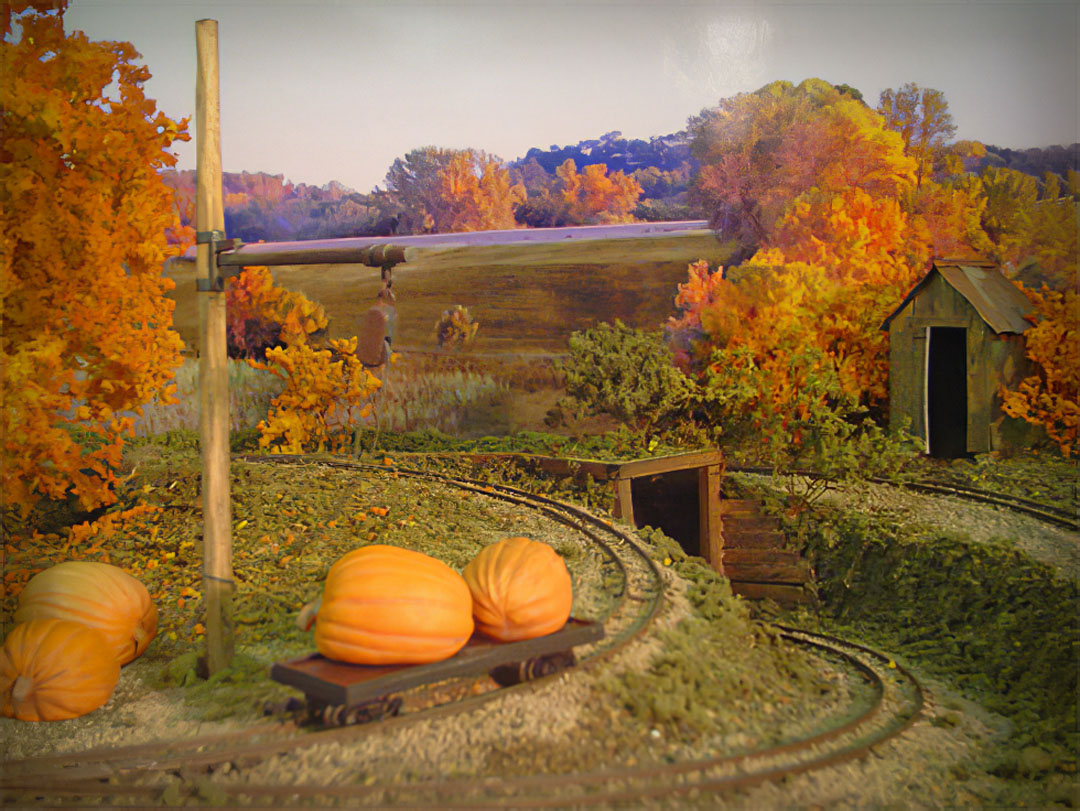
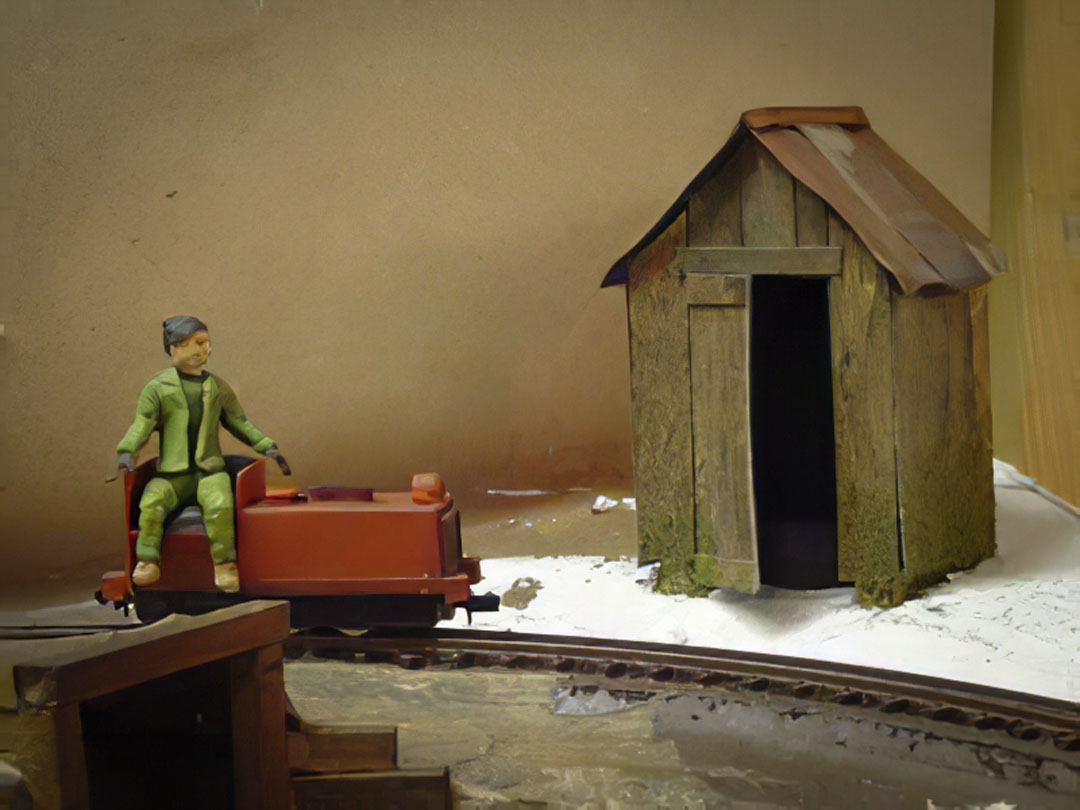
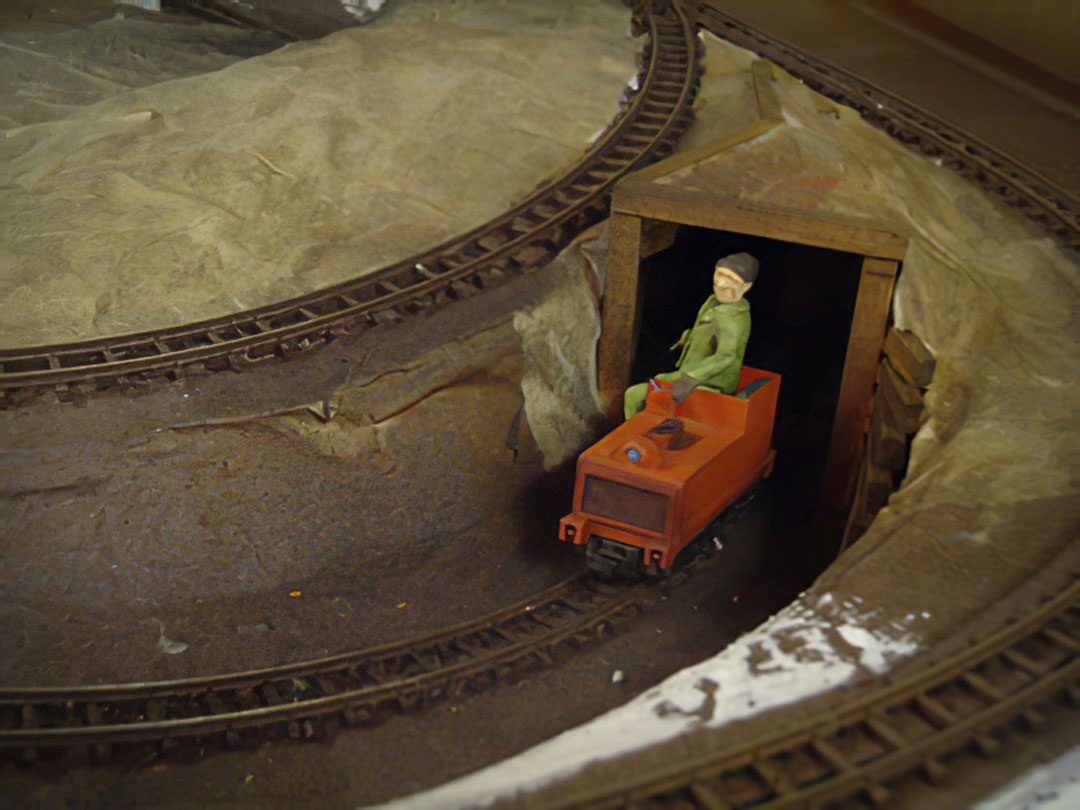
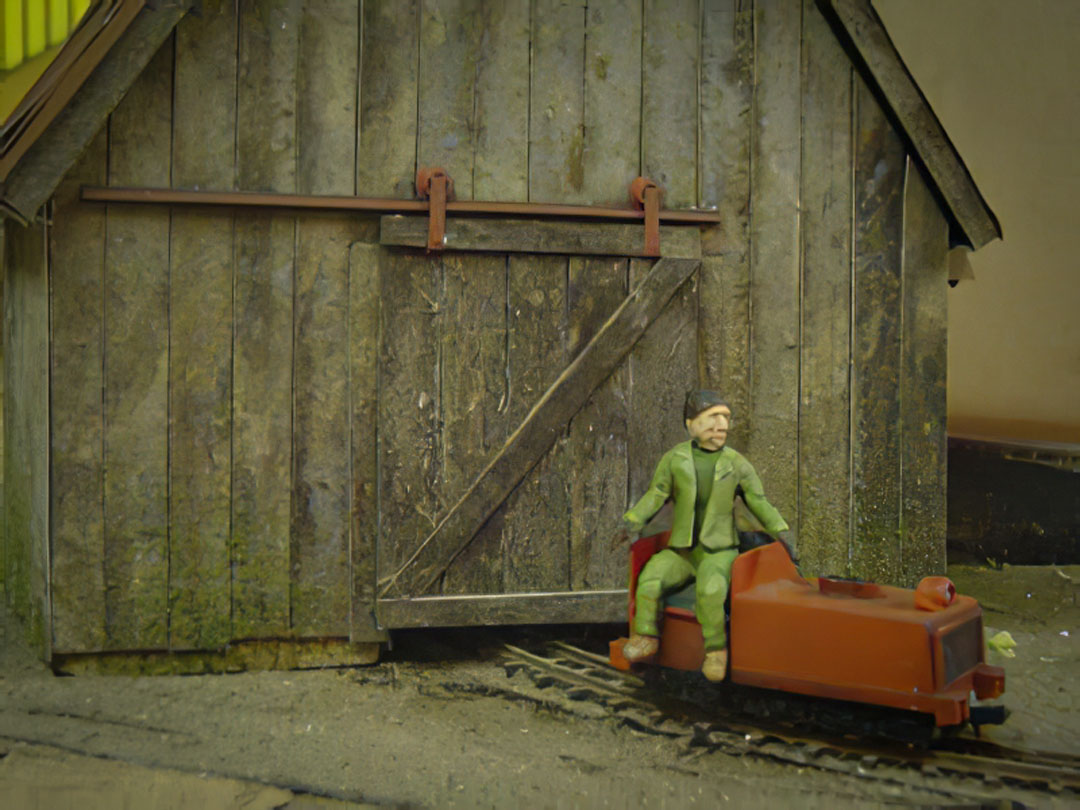
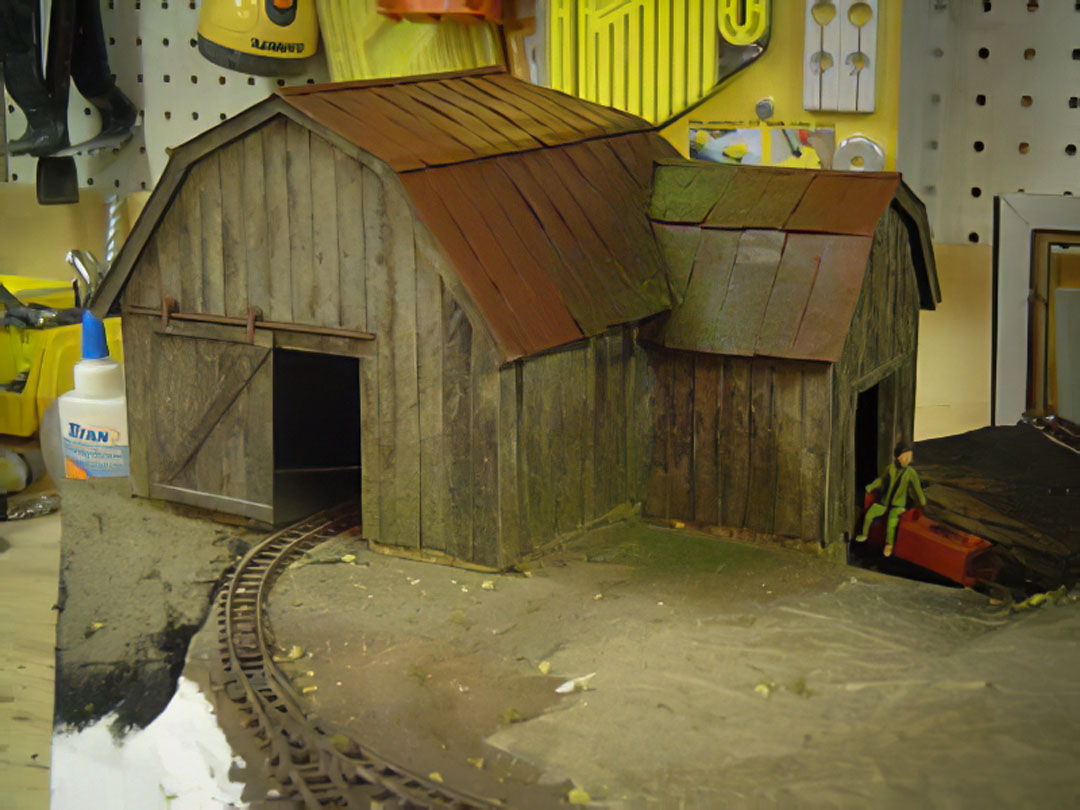
Pete’s Pumpkins was a micro layout ‘experiment’ constructed in 2007. Inspired by the growing popularity of narrow-gauge modelling, Pete’s Pumpkins depicted a small private railway set in the rural countryside. The railway was designed to support the ever-growing demand for ‘monster’ pumpkins by transporting pumpkins from the surrounding fields to Pete’s centralized store and distribution facility – the barn.
When I started this layout, there was no scale preference, only the requirement that the layout makes use of my leftover N scale track. I liked the proportions of 1/32 scale figures and wanted to try my hand at sculpting at least one character, so I settled on 1n12. (Other possible designations included 1nine, and 9mil-12)
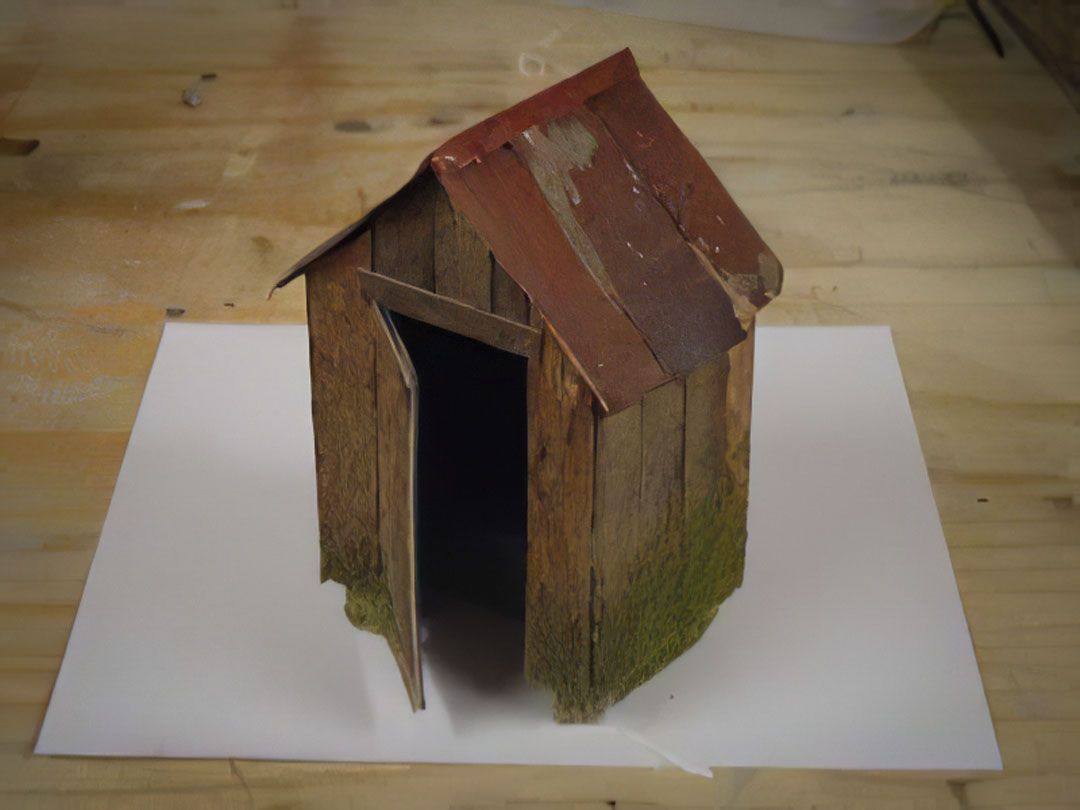
The railroad was built over the course of 4 months using found materials and leftover supplies. At the time, there were no video tutorials or knowledge centres to help inform the building, so much of what as done was trial and error. Likewise, digital cameras were in their infancy and monitor resolutions were low, so many of the photographs are small and poor quality.
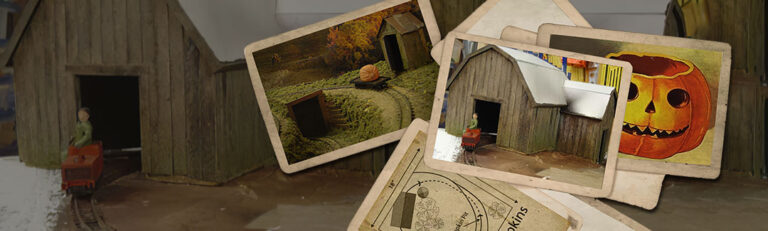
When completed, the layout was featured on the popular mico-layout website, carendt.com.


